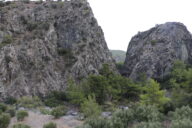
Sarakina Gorge (or Canyon) is a gorge in south-east Crete about 25 minutes drive from Ierapetra. The gorge starts near the village of Males, and snakes south to the sea just east of the village of Myrtos
 I first learned of the existence of Sarakina Canyon back in 2013 thanks to a photo on a facebook page called VisitIerapetra that I used to follow before I closed my facebook account. Despite having visited Ierapetra many times I had been unaware of the gorge and the picture made me want find find and explore it.
When I first visited Sarakina Canyon there wasn’t a great deal of information in English online but the canyon is now better known and plenty of information is now available. تاہم, due to the lack of information when I first visited I had to do a lot of research which I then wrote about after visiting the gorge in the original version of this article. I have now been back to the gorge approximately 10 times and continue to discover more about it.
 The total length of the watercourse from Males down to the coast is 5 miles (8km) as the crow flies, and realistically about double this, or maybe more, when following the twists and turns of the riverbed. Given the bouldering and scrambling required this would take a good part of a day to walk in full. The most interesting parts of the gorge are near the middle, and fortunately several roads criss-cross the riverbed so it is not necessary to walk the whole thing.
Sarakina Canyon is also known as Myrtos Canyon and to some locals may be known as Sarantapihos. The river that flows down it is often labelled on maps as Myrtos Potamos (Potamos is Greek for river), but I believe it is more correctly called Kriopotamos.
For most sections of the gorge there are parts that would be a considerable challenge to young children, anyone with a physical disability, anyone with a serious fear of heights, or anyone who might be described as ‘elderly’. I would suggest most of the route is probably doable for any healthy individuals aged 7 کرنے کے لئے 70, but I’d recommend the exercising of some judgement at both ends of that scale.
How to get there by car
 A little beyond the village of Mythi there is a hydroelectric facility or dam right next to the tarmacked road with an area where visitors can park. This is the area most people travel to when visiting the gorge even though this is in the middle of the full length of the watercourse. From this hydro station one of the most interesting parts of the gorge is immediately upstream (see section 3 below), and another is around 500m downstream (see section 4 below), both within a fairly easy walk/scramble.
To get to this hydro station, which is around 4 miles drive from the village of Myrtos you need to drive west from Ierapetra along the south coast on the main road (called “Ierapetra-Arkalochoriou” on TomTom, and called “Epar.Od. Pachias Amou — Gdochia” on Google Maps). Pass through Gra Lygia and Stomio and continue towards the village of Myrtos (located 8½ miles West of Ierapetra). Just as you enter Myrtos you cross a riverbed on a bridge. This is the end of the route of the gorge!
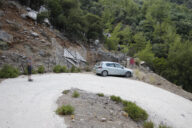
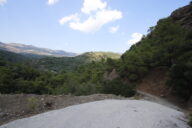
Follow the main road past Myrtos which curves away to the North (to the right), back up into the mountains. Just under a mile (just over 1km) after crossing the riverbed by Myrtos you will see signs for a right turn towards the village of Mythi. There is also a sign in Greek and English pointing to the gorge. Follow this road, and after 1 1/2 miles (approx 2km) you will pass through the village of Mythi. Continue along the road, which will still have signposts to the gorge. After Mythi the road starts to drop again. After another 2/3 mile (1km) the road appears to be crossing the riverbed again and starting to wind back up. Here, on the left, is a gravel parking area and some concrete structures.
Alternative starting points
 For stage 5: If you want to start at the very bottom of the gorge (not recommended) you could park just off the main coastal road east of Myrtos where the riverbed passes under the main road. From here it would be a very long walk to the more interesting parts of the gorge though so I don’t recommend it.
It is also possible to turn off the main coastal road either side of the bridge over the riverbed and drive parallel to the riverbed (on either side) which is how to get to the Roman bridge. This road will pass the observation point for section 4 and will eventually reach the hydro station but the road quality is not as good as the route described above.
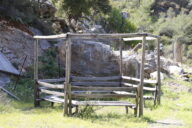
For stage 2: Continue past the hydro station described above for just under 2½ km (approx. 5 mins driving) and then turn left onto the first dirt-road exit. After 100m or so on the dirt road you will see the best place to park which is a hexagonal wooden structure which is an observation point.
The different parts of the gorge
 I will break the full length of the gorge into 5 parts and describe them from the top down to the coast. The only section of the gorge that I haven’t explored is the top most section. The information I can find, including views on google earth, suggests this part is largely fairly gentle riverbed without the high narrow walls found on other sections. It also looks quite over-grown and may be difficult to explore. When I have investigated this top part more I will add more information about it.
Map
Section 1
I haven’t yet explored this section, but will add further information when I eventually do.
Section 2
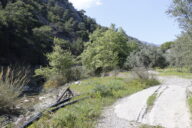
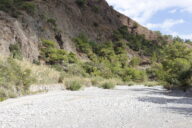
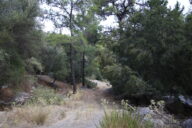
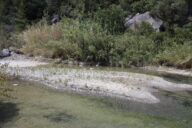
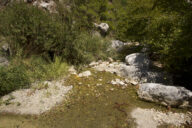
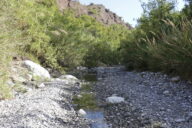
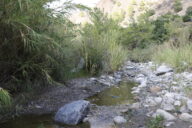
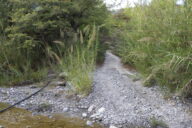
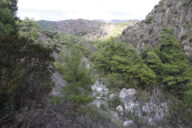
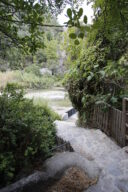
 The second part of the gorge is more of a riverbed and less of a gorge. It can be accessed directly on a dirt road although I would recommend parking near the top and walking down (see map). There are 2 branches of water here, with the main (eastern) branch coming from the part described as section 1 which comes down from south-east of Males.
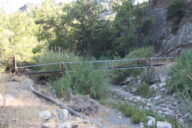
There used to be a narrow metal bridge over this branch as recently as 2018, but by 2019 it had been washed away. It is possible to follow the dirt road alongside the river for a little distance here, but if you want to continue upstream it is eventually necessary to get back onto the riverbed which is surrounded by dense bamboo-like plants.
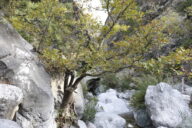
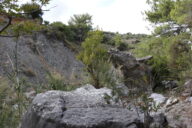
The other (western) fork runs for a short distance which requires quite a lot of scrambling over boulders and then ends at a sheer cliff which I imagine might form a waterfall in winter and early spring, although I have never seen any water falling there as I’ve only gone this far up this branch in summer.
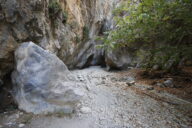
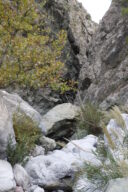
 Downstream from where the 2 branches merge the riverbed is gentle and pebbly and not too difficult to walk. After 200m or so it starts to enter the first proper section of canyon and quickly reaches a point where it drops around 2–3m. To get down requires the use of a rope. This is where the part I will call section 3 begins. On the way down the dirt road, next to the hexagonal wooden construction there are views into this part of the canyon from above, although the drop is quite dangerous and there is no fence so take care.
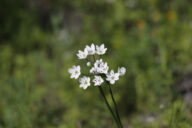
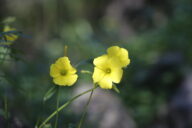
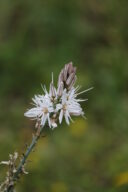
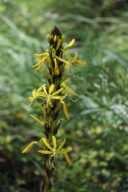
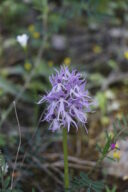
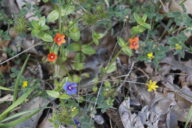
This whole section is one of the easiest to access thanks to the dirt road and the more open area around it. I would say it is suitable to explore for all ages and in any footwear. In spring there is usually a reasonable flow of water and there are often lots of nice flowers dotted around including orchids.
Section 3
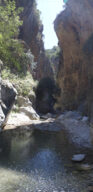
 The part I am calling section 3 runs from the start of the gorge just after the 2 rivers described above join, down to the hydro facility where most people park. This section is a great section of gorge to explore for any adult of good health along with children and seems to be the most popular and most explored part, with most people starting at the hydro station and working their way up.
The first part of this section is easily explored with young children but to get all the way up to section 2 is a little tricky in places and probably best only tackled by healthy teens and adults, although those older and younger may still wish to give it a go. Exploring in summer and autumn is relatively straightforward as there is usually not very much water, but it can be more challenging in spring when there is more water. I would exercise caution in winter in all parts of the gorge as sudden heavy rain could prove dangerous! In summer I have worked my way all the way up this section in flip-flops but I have seen enough water earlier in the year that I would want something a bit more serious for spring.
 The first year I explored this section, in August, there was a decent flow of water with a number of fairly deep pools, but in subsequent years there has been less water in summer and I haven’t found any pools deep enough to dip in for the last couple of years. Another factor is that the nature of the gorge changes every year – I’m assuming sudden heavy rains in winter can produce sufficient flows of water to rearrange some of the large boulders.
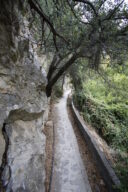
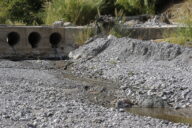
The lower part of this section starts with around 30 steps that lead up from the car park by the hydro station, and then, after turning right, a disused concrete channel that was previously used for irrigation runs parallel to (and above) the riverbed for around 200m. This concrete channel is flat and easy to walk on and leads well into the gorge.
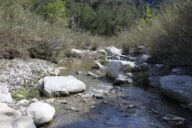
 The next 200m or so are reasonably easy to walk as long as there isn’t too much water as the ground is fairly even and covered by gravel and sand. In summer and autumn it would probably be just about possible to walk all the way up without getting your feet wet, but it is much easier going if you have footwear that can go ankle deep into the water. I have previously worn flip-flops and light-weight shoes like plimsoles or casual loafers and found it was easiest just to let them get wet.
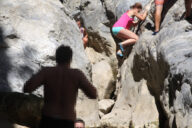
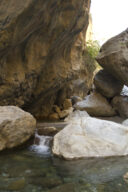
Further up the number of large boulders increases and a little more scrambling and jumping is required. Once you reach the area with the boulders the route isn’t always obvious (although in a 10m wide canyon there isn’t too much searching to be done). There are faint yellow arrows painted in quite a few locations, and rocks that are part of the route often have a red square painted on them. Using these (and the obvious carved footholds) makes finding the best route reasonably straightforward.
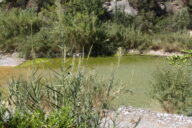
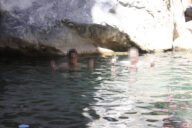
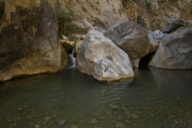
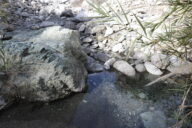
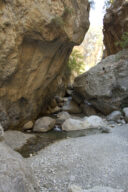
 After around 500m (a pretty rough guess on my part) you reach the only significantly deep part of the river in this section of the gorge – which in some years (but not all) it forms a pool which is around 7m wide by 8m long and 2m deep at its deepest point. If there is enough water this is the best place to go for a dip if you wish to do so.
The very top of the section has a 2–3m high boulder that back in 2013 I was able to climb with the help of a rope that had been put there. I don’t know if this is still the same but think it fairly likely. Beyond that is what I described above as section 2.
Section 4
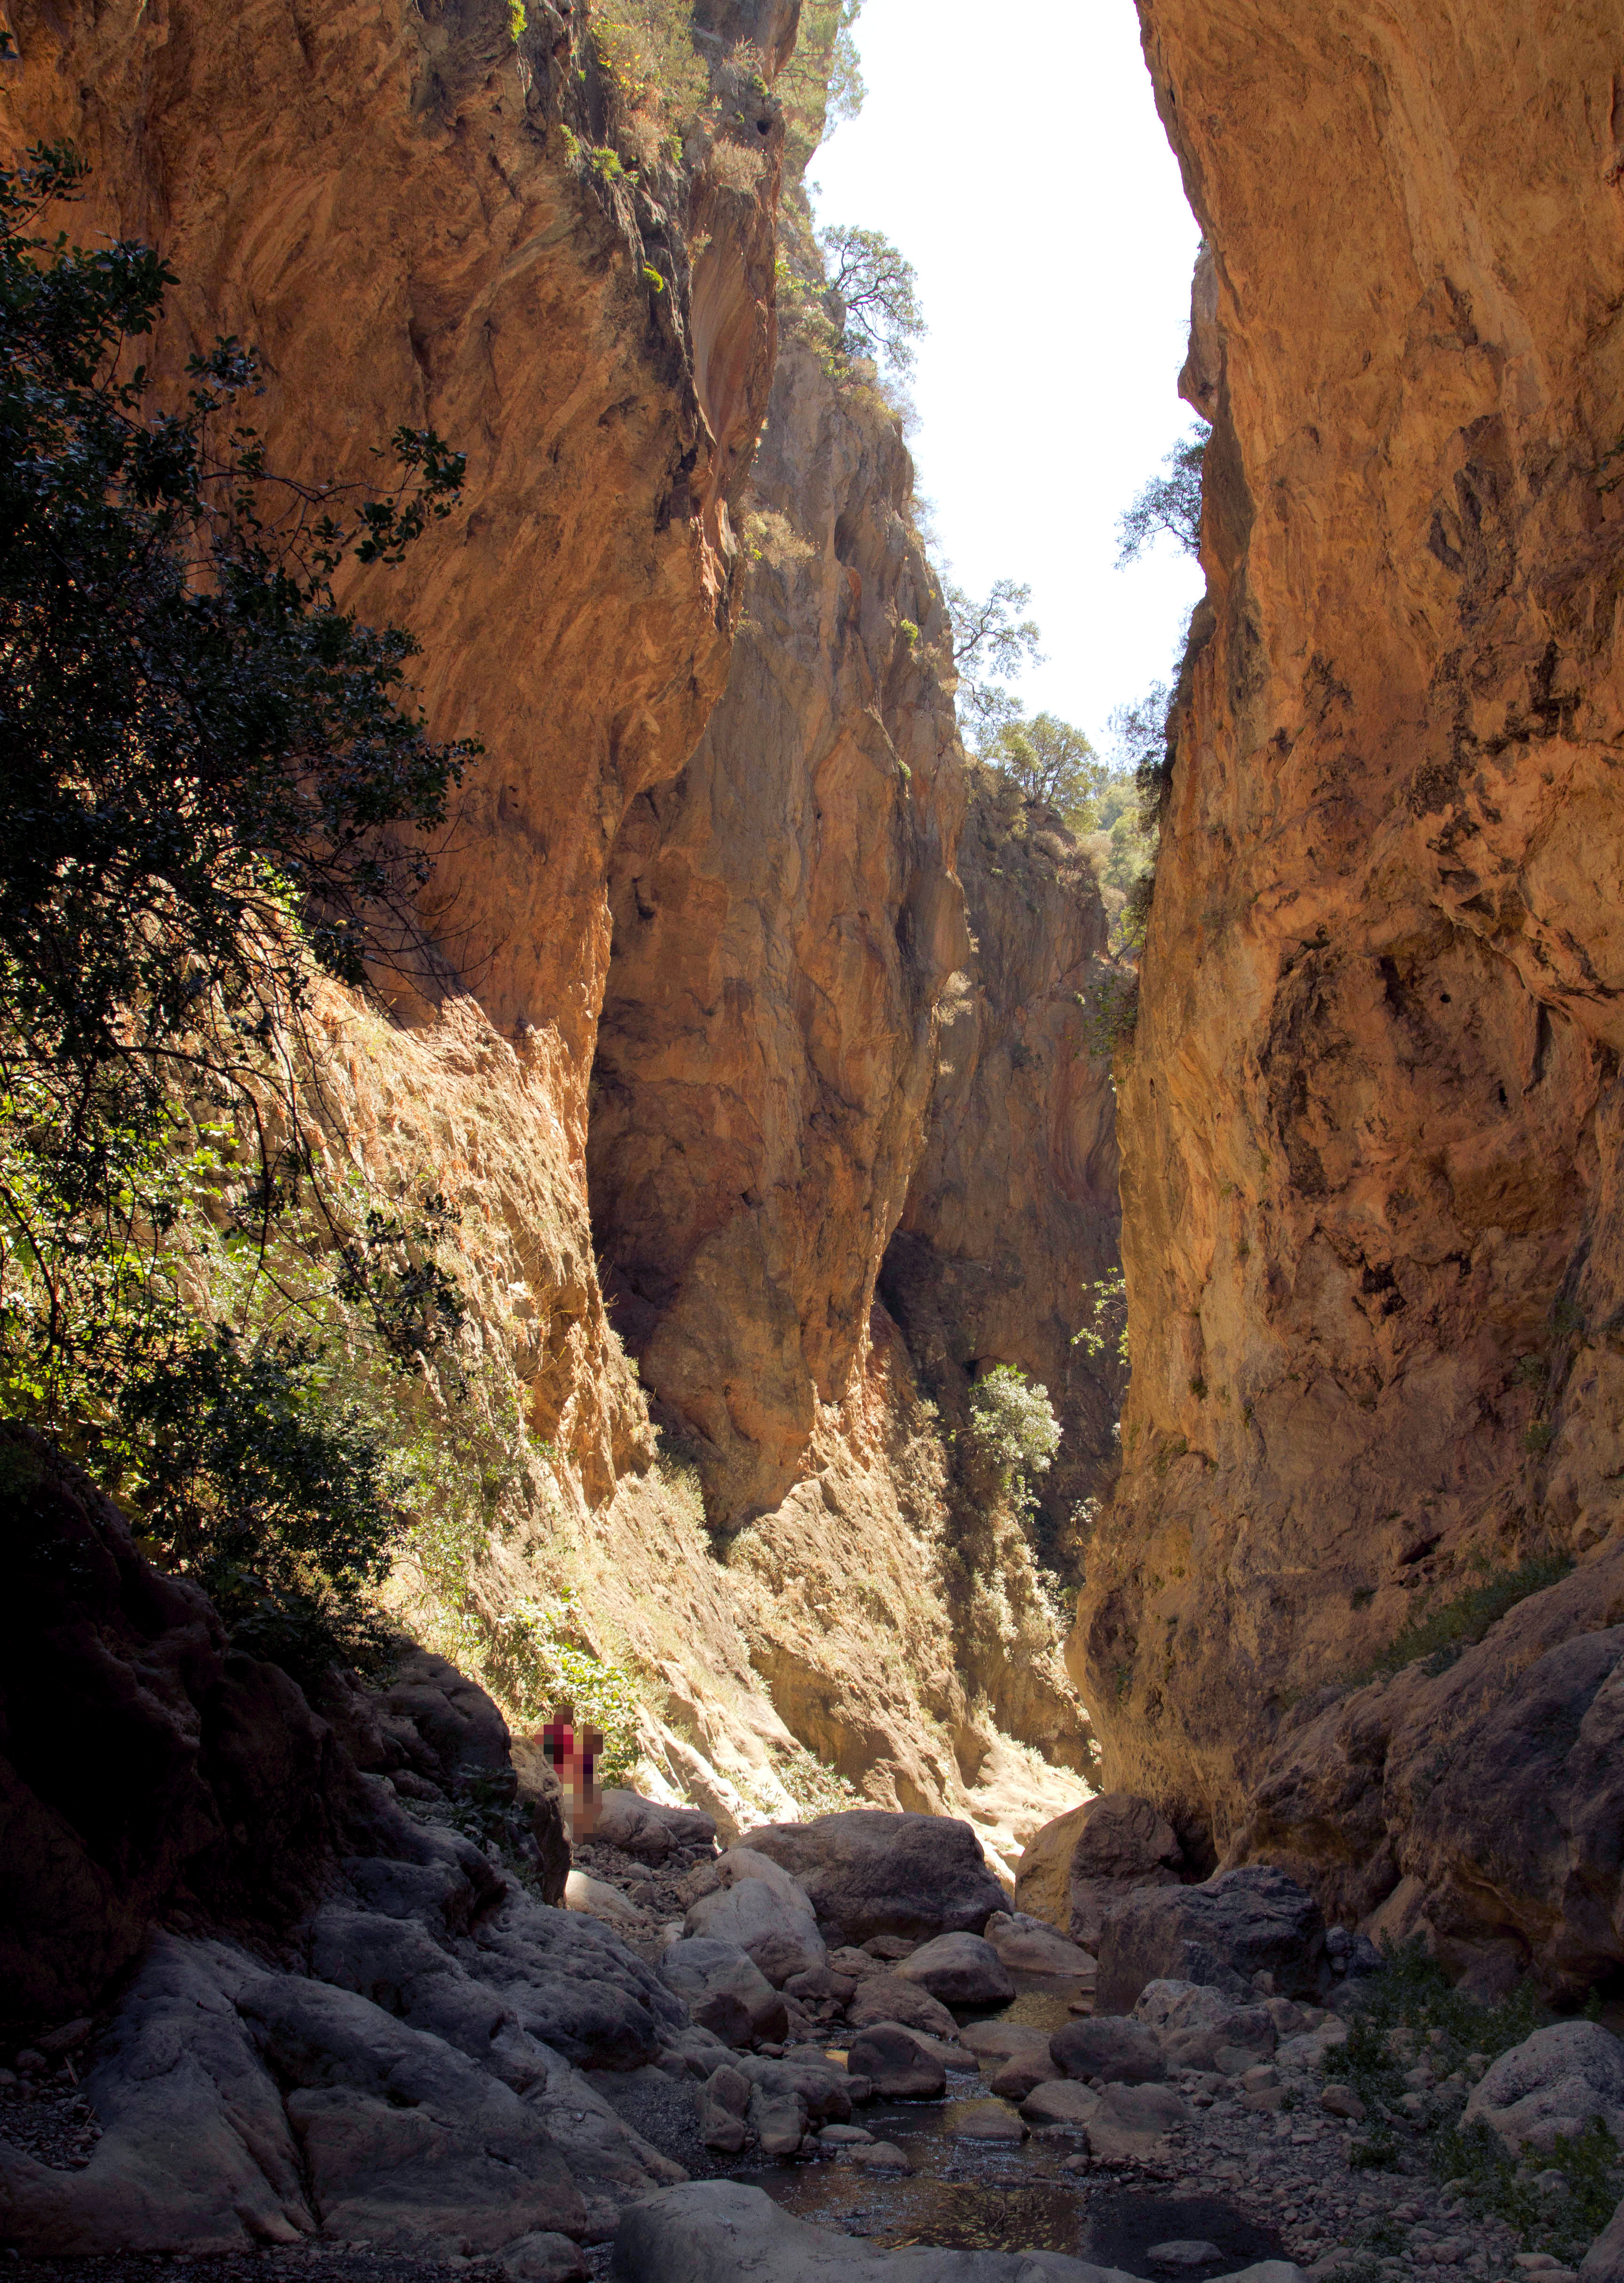
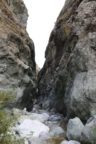
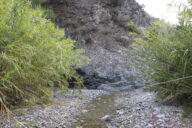
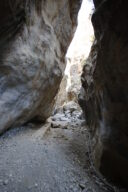
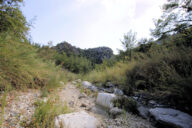
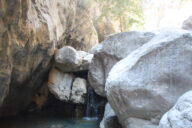
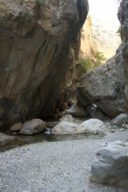
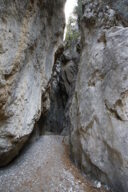
 The part I am calling section 4 runs down from the hydro facility. Initially it is wide and flat with large pebbles for a base. After around 500m the riverbed encounters harder ground and is forced through another narrow gorge section – the narrowest part of the whole gorge I believe. This section has at least 2 fairly large pools that in autumn could just about be jumped when travelling down, but could not be passed coming up without getting very wet. I imagine they would be impassable without wading in all other seasons. At the other end of this narrow section the riverbed widens out again and becomes what I will describe as section 5.
When I explored this section in 2020 I wore light-weight loafers and my travelling companion wore flip-flops which were good enough to do the job but I certainly wished I had trainers or even proper walking boots. The walk got progressively more challenging as we got further down and as we got nearer to the narrow part there were more and more boulders we had to scramble and jump to work our way down.
 We didn’t go through to the end of the narrow section as we both had cameras (and phones and car keys) with us and didn’t want to get wet. We also didn’t really want to walk and scramble our way back up the riverbed on our return as it would have taken at least an hour, but I had spotted a truck passing by above us, so we just about managed to scramble our way up a fairly steep part of the side to the road and then walked back along it.
I wouldn’t recommend this section for most children or for anyone other than healthy adults as the going was a little tricky in places.
Section 5
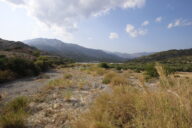
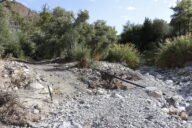
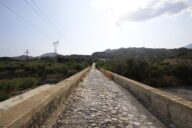
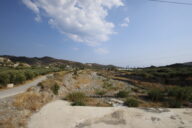
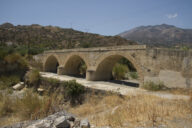 The final part that I am calling section 5 is fairly flat and wide and gentle. It runs from just after the narrowest part of the gorge, down to the coast. Whilst this section might not sound especially interesting, there is an old arched bridge that is claimed to date back to the Romans. This is easily accessed along paved roads that run alongside the riverbed from the main coastal road so can be explored separately from the other sections.
Other information
In many places the water seems to disappear, only to reappear further down. In summer and autumn it appears that there is a sufficiently gentle flow of water that in areas with a significant depth of gravel and sand the water is flowing in this layer and isn’t visible at the surface. In sections where the sand and gravel layer is thinner the water re-emerges.
 I have seen a tadpoles, small frogs, and crabs in sections 2 اور 3 of the gorge although only on a couple of occasions. I haven’t found myself bothered by flies or mosquitos in any parts of the gorge, and whilst there have been wasps occasionally they only seem to be interested in drinking the fresh water and have never bothered me.
There are guided hikes and walking tours that include the full length of the gorge from Males down to Myrtos. If you are a serious outdoor explorer then these might be something to consider as they will provide transport so you can go through the wet parts without worrying about car keys, and they are also likely to provide information about the flora and fauna.
When there is significant water in the gorge walking boots really aren’t suitable unless they are designed to be submerged, nor are they necessary when the canyon is largely dry so I recommend against wearing them for sections 2 اور 3 unless you’re happy to get them wet. Most sections can be done individually in flip-flops in all the conditions we’ve encountered, but the best footwear for shorter excursions would be secure sandals, or canyoning/bouldering/climbing shoes. Plimsolls will also work well when exploring short sections. If you want to walk the full length you will need to invest in some proper waterproof hiking boots.
 I would say that taking a camera is highly recommended, and I would further recommend a rucksack to carry it in, along with some bottled water. The number of people visiting the gorge has steadily increased since I first explored the gorge, but even in the height of summer you are only likely to encounter a handful of other people.
Another important thing to note is that online guides to the specifics of the route (e.g. the location of ropes etc.) are likely to be out of date by the following year — each year we’ve found the route a bit different due to changes caused by winter floods.
Photo Gallery for Sarakina Canyon


Other information
- Reviews on trip advisor (including 2 by me)
- Cretan Beaches
- Hans Huisman’s Crete pages
- Web Crete
- Minoa.info
- Hersonissos-Now
- Destination Crete
A note on the history of this post
This article was originally published at JonScaife.com. It has been extensively reworked and updated since the original.
Leave a Reply